Next.js is one of the main options for a full-stack framework if you are a JavaScript developer. It’s not just a static site generator but a full-fledged React framework with server-side rendering, incremental static regeneration and API routes. In this article, I will show how to roll out a Next.js application on any VPS using Laravel Forge and not break the bank.
There is an official guide from James Brooks about hosting Next.js on Laravel Forge but it’s a bit outdated and doesn’t cover some important aspects like daemons and environment variables.
Table of contents
Open Table of contents
Next.js hosting at scale
When it comes to hosting your Next.js application there are a few very good options to choose - Vercel, Netlify, Cloudflare Pages and many more. If you are building something small or just want to try it out, you can start with Vercel - a platform built specifically for Next.js by Next.js authors. It’s very easy and takes just a few clicks to get your app up and running.
But if you are building something bigger with higher traffic, Vercel may quickly become very expensive. Recently, they changed the pricing for their Pro plan by introducing charges per request. This change caused my bills to skyrocket, and I started looking for alternatives. The main question for me was: should I find a similar platform where I can host my Next.js app with working SSR/ISR or just host it myself on a VPS.
It seems, at least at the moment, only Vercel gives you a fully working Next.js with SSR/ISR support out of the box. There are ways to make it work on other platforms, but it’s not straightforward and requires some additional configuration. In fact, most of those platforms are primarily designed for SSG sites and are framework-agnostic. In the end, there is no guarantee that it will be cheaper than Vercel, which was the main reason for switching. I didn’t want to spend a lot of time optimizing my app to reduce the number of server function calls and the frequency of incremental static regeneration and then monitor the usage of resources every week.
Self-hosting and Laravel Forge
For server provisioning and basic administration, I use Laravel Forge. Like Vercel for Next.js, Forge is a tool from the authors of the Laravel framework, built specifically for Laravel projects. Although Laravel Forge is not limited to Laravel and can be used for any PHP project, let’s check if it can handle Next.js.
We assume your application uses Server-Side Rendering (SSR) and/or Incremental Static Regeneration (ISR) features of Next.js. If not, your website will be static and can be served by a static file server like Nginx. The instructions for this case would be slightly different. Let me know in the comments if you want me to cover this case as well.
Provisioning a server
If you don’t have a Forge powered server yet, let’s create one. Otherwise, you can skip this step.
I assume you already have some VPS provider like Digital Ocean or Hetzner connected to your Forge account. Create a new server with the type “Web Server” so it has Nginx. If you need a database and/or Redis in your Next.js application, choose “App Server”. As for the server size, it highly depends on your needs, but I would recommend starting with the smallest option and then scaling it up if needed.
Creating a site
Create a new site, set a domain name and choose the project type “Static HTML / Nuxt.js / Next.js”. Make sure the “Web Directory” field value is set to /.
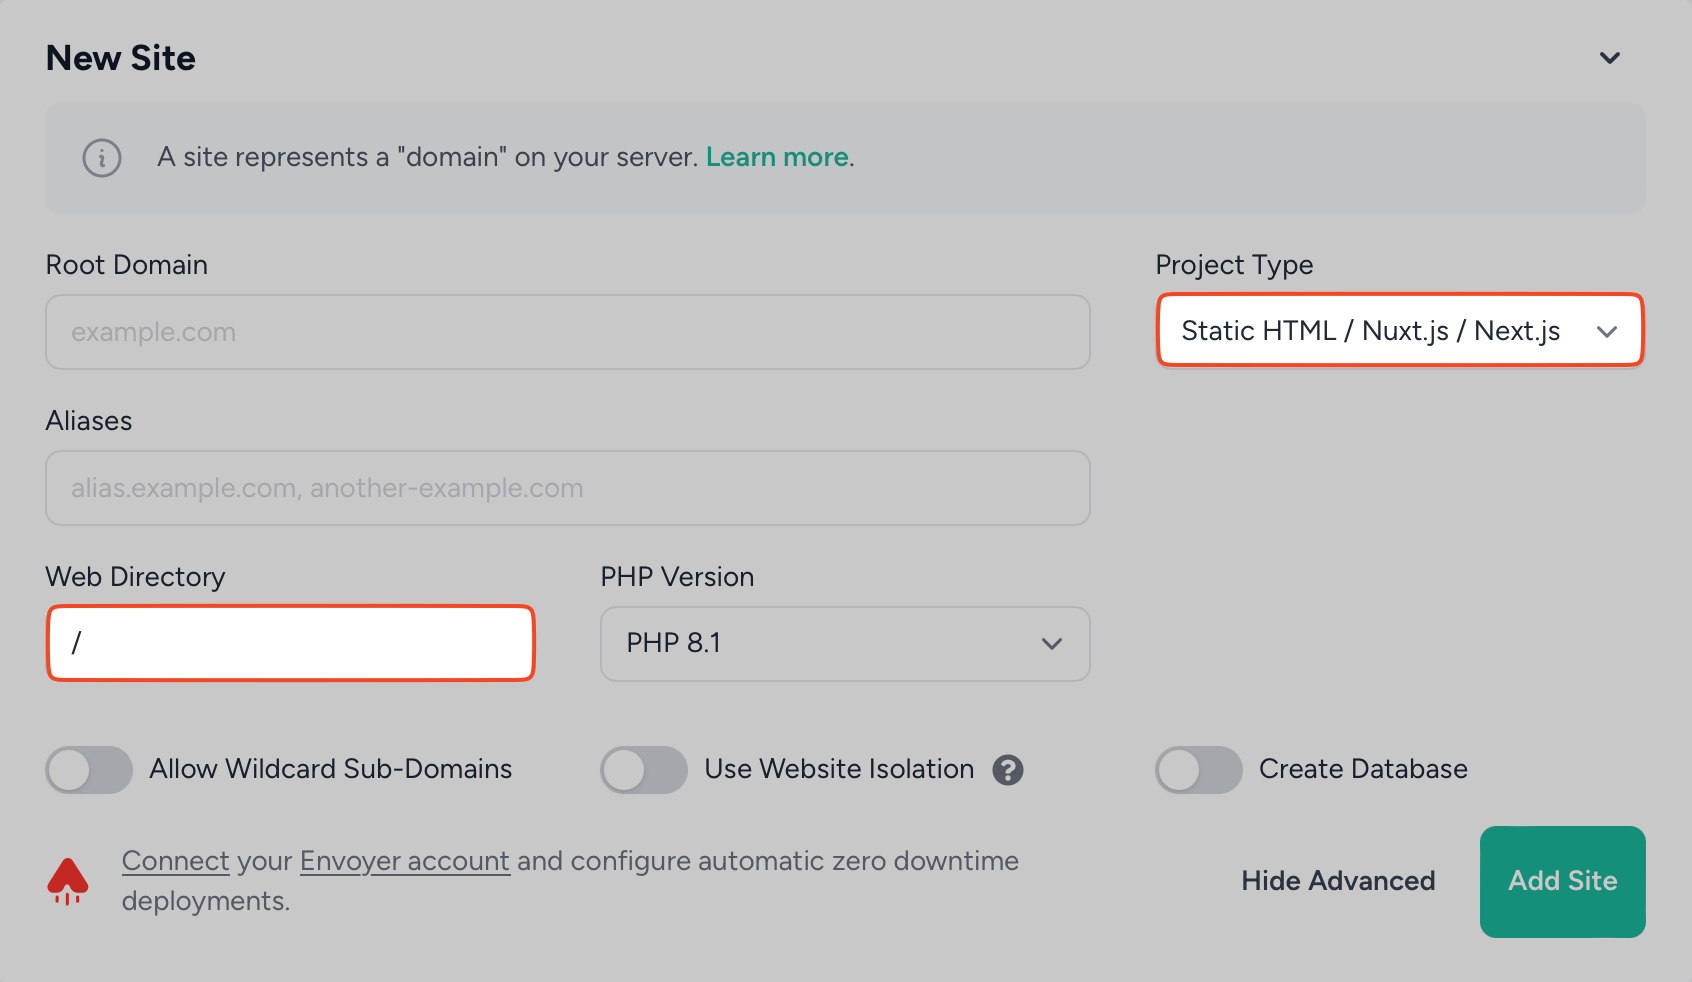
Don’t forget to update your DNS records to point to the new server.
Nginx configuration
Your site is now live and all requests are served by Nginx. But Next.js has its own server (Node.js) and, in fact, doesn’t need an additional web server like Nginx. But here is the problem: websites usually work on a port 80 or 443 but Node.js server runs on a different port (usually, 3000). Although it’s technically possible to replace Nginx with Node.js server, it’s a common practice to use it as a reverse proxy. It means Nginx will proxy all requests coming to ports 80 and 443 to 3000.
Let’s update the Nginx configuration file, remove all PHP related stuff and add a proxy pass to the Node.js server. Click “Edit Files” -> “Edit Nginx Configuration”.
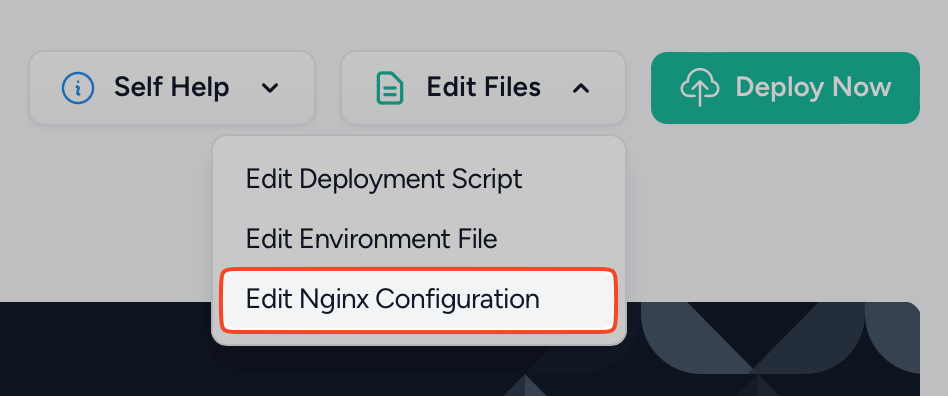
In the configuration file, remove PHP related instructions - the entire sections:
location / {
    try_files $uri $uri/ /index.php?$query_string;
}

location ~ \.php$ {
    fastcgi_split_path_info ^(.+\.php)(/.+)$;
    fastcgi_pass {{ PROXY_PASS }};
    fastcgi_index index.php;
    include fastcgi_params;
}
And replace it with our Node.js address and port:
location / {
    proxy_pass http://127.0.0.1:3000;
}
If you are going to host multiple Node.js applications on the same server, don’t forget to use different ports for each instance.
We don’t need to serve favicon.ico and robots.txt files by Nginx. They will now be served by Node.js as well. So this can be removed as well:
location = /favicon.ico { access_log off; log_not_found off; }
location = /robots.txt  { access_log off; log_not_found off; }
Similarly, 404 errors will be handled by Node.js. Remove the line:
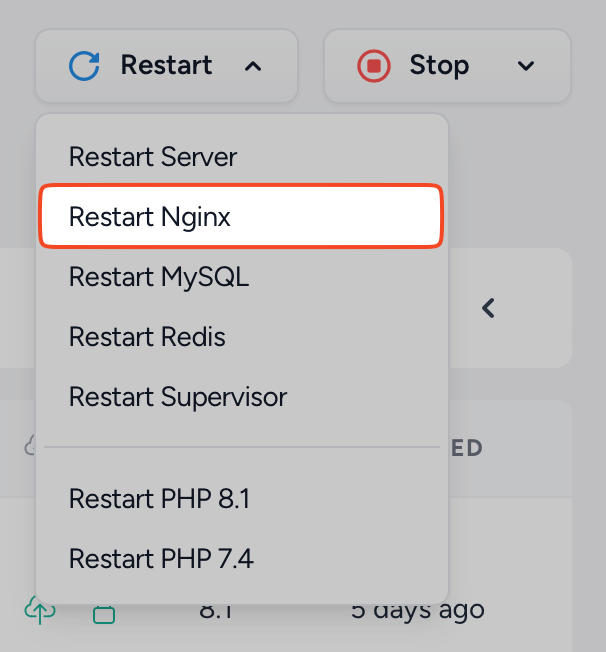
error_page 404 /index.php;Save and restart Nginx.
Deploying the app
Next we need to connect our git repository to the Forge site. Go to the site settings and add your repository URL. Uncheck the “Install Composer Dependencies” toggle because we don’t have any PHP here.
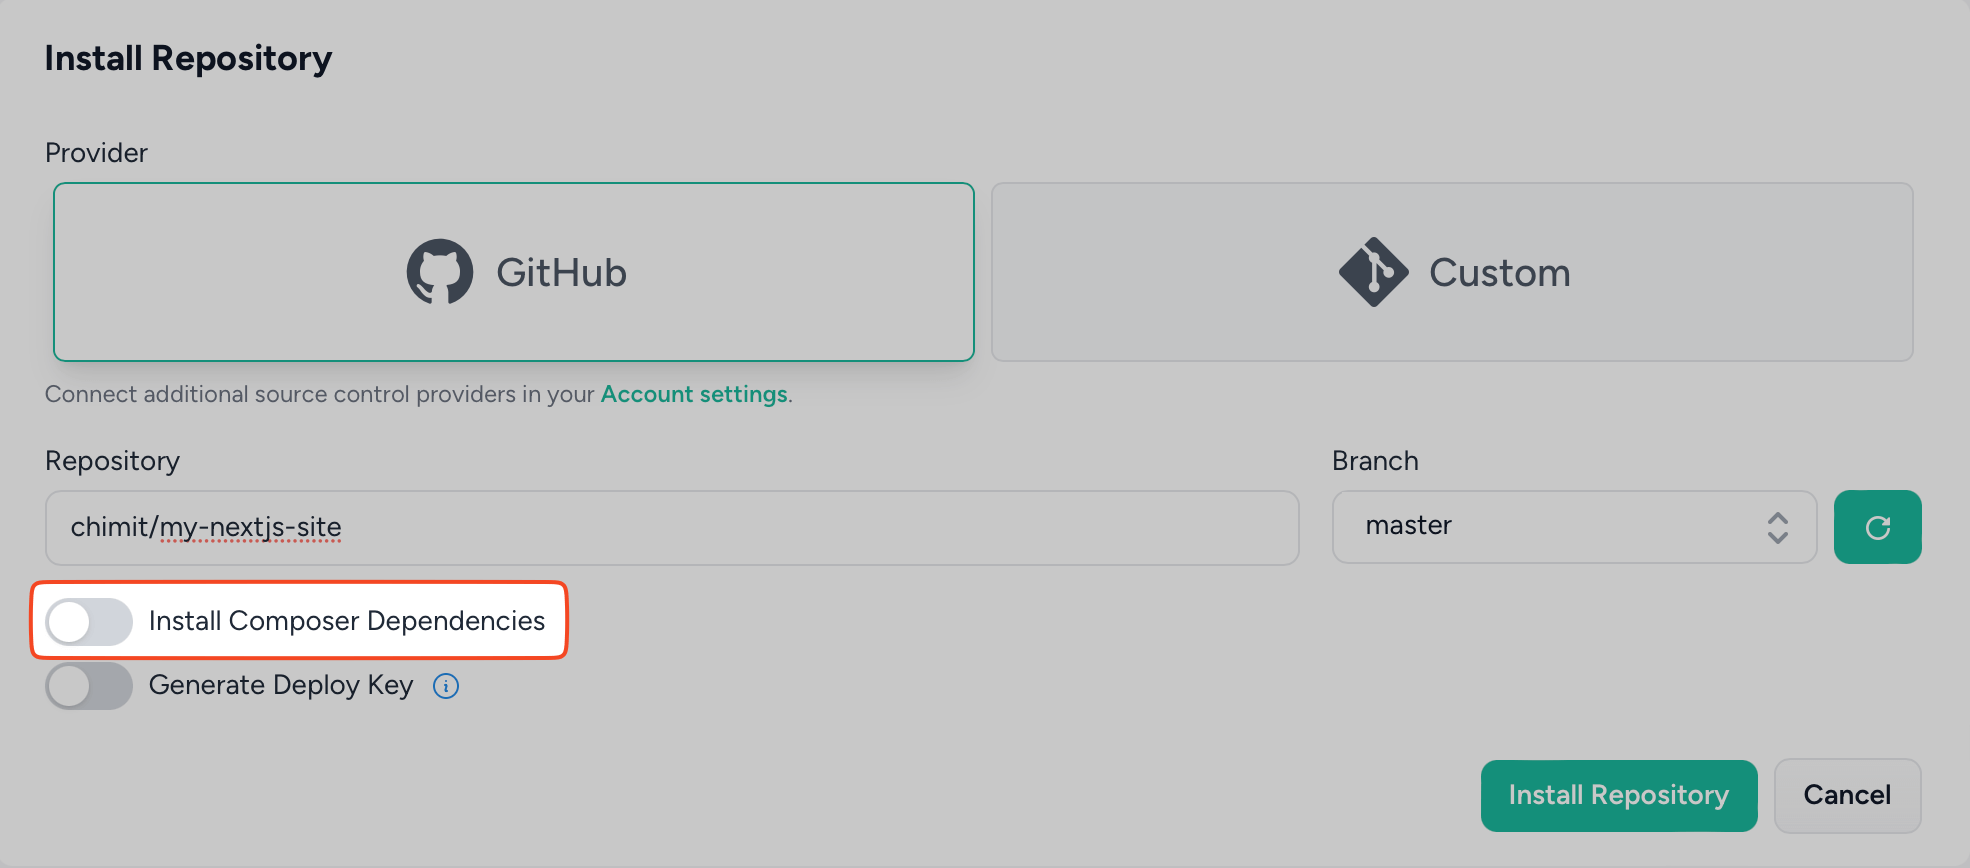
Now let’s talk about the deployment process. A Next.js application is a Node.js application and it needs to be built using npm run build command and then started with npm run start, which will run a long-living Node.js process. Without this process continuously running on your server, Server-Side Rendering (SSR) and Incremental Static Regeneration (ISR) won’t work.
If we put both these commands into the deployment script it will build the app and start the server but the deployment script will never finish because the server will be running. Forge will think that the deployment failed. To avoid this, we need to run the Node.js server separately as a daemon. Thankfully, Forge has a built-in supervisor that can be used for this purpose.
First, let’s update our deployment script. It should install dependencies and build the app, but not run it:
cd /home/forge/my-nextjs-site
git pull origin $FORGE_SITE_BRANCH

npm install
npm run build
Then let’s create a daemon that will permanently run the npm run start command. Go to the server level in Forge -> “Daemons” and create a new daemon with the aforementioned command. It’s important to set the directory of your site.
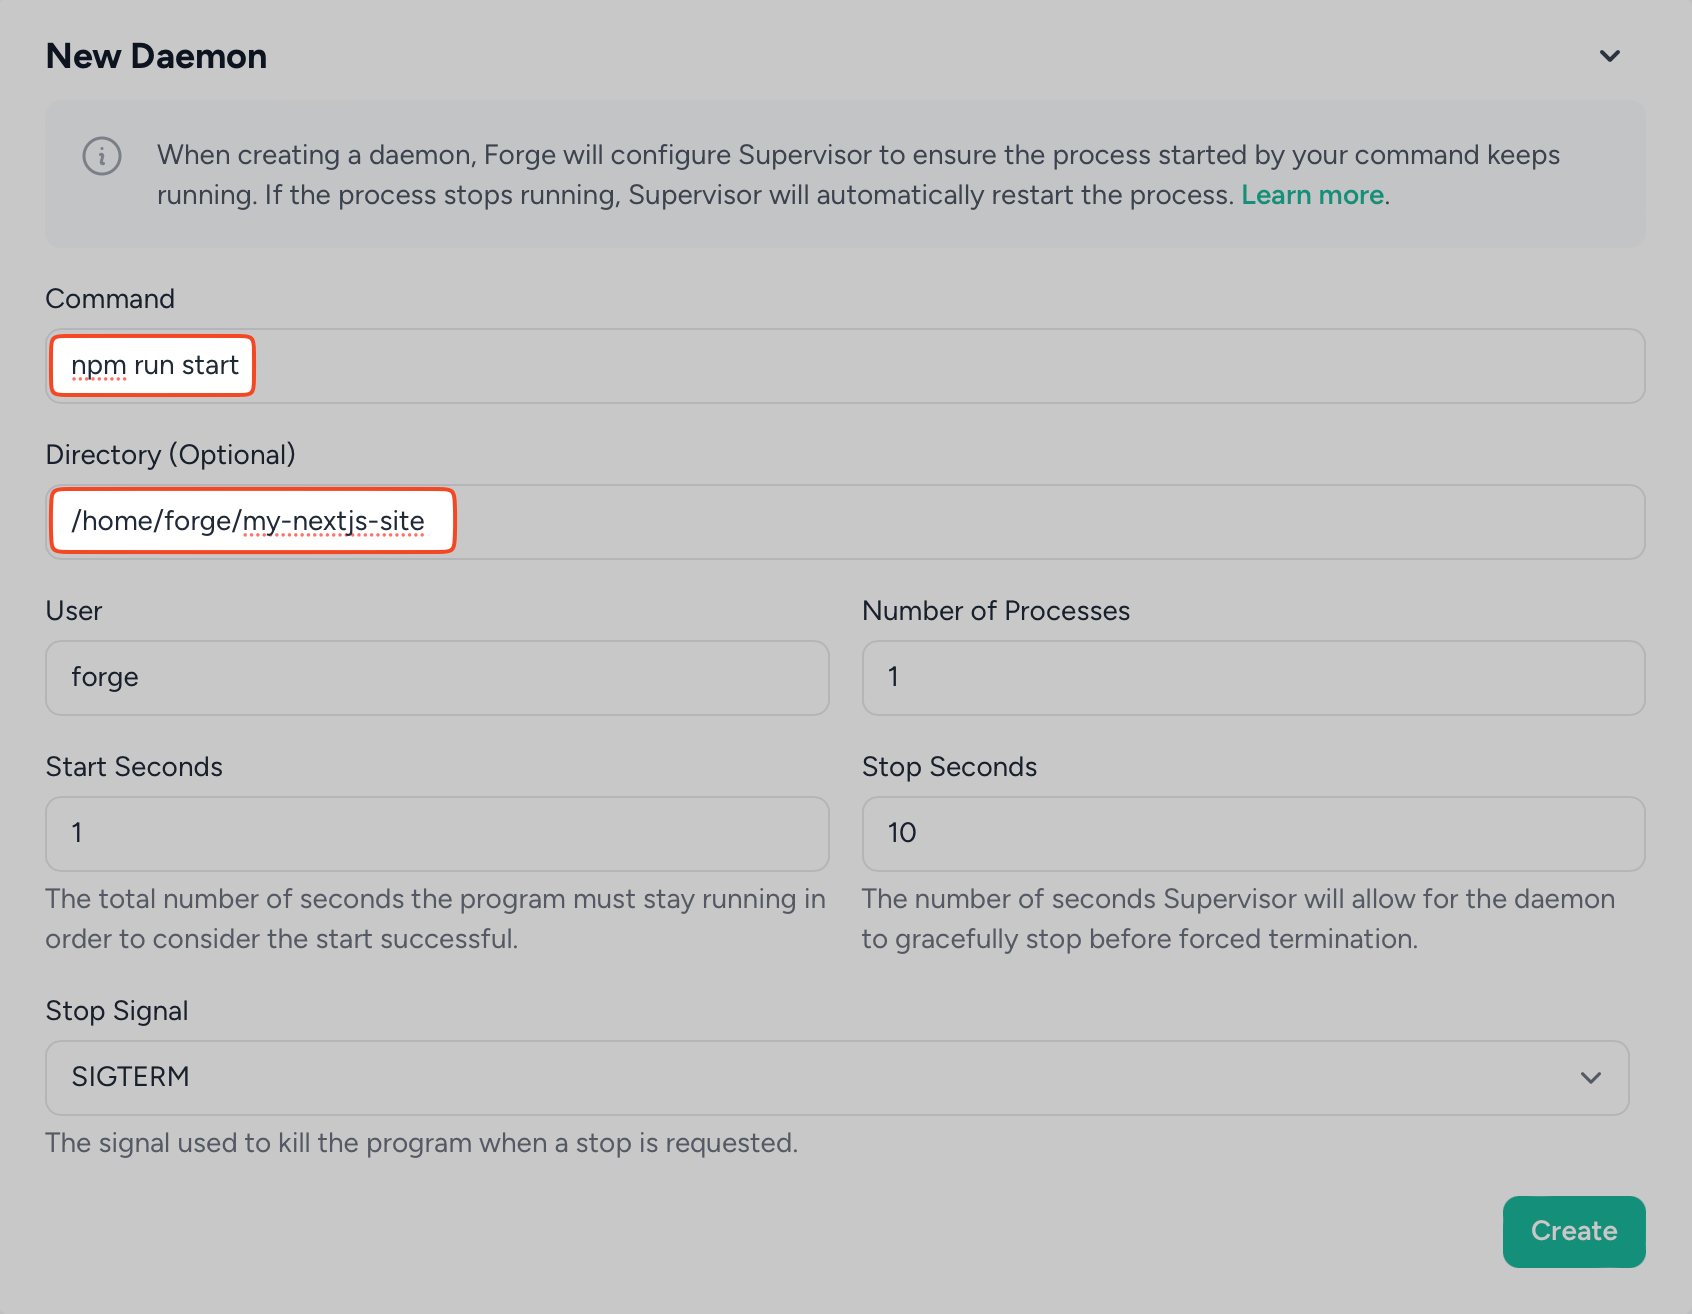
We are almost there but we missed one important thing. A Node.js server should be restarted after each deployment. Unlike Laravel Horizon that has a php artisan horizon:terminate command, Next.js doesn’t have such a command. But we can stop it by restarting the supervisor. To do so we need to know the ID of the supervisor process:

Copy it from Forge and add the following command to the end of your deployment script where 840133 is the ID of your supervisor process:
sudo -S supervisorctl restart daemon-840133:*That’s it! Now your Next.js application is up and running on your own server with working SSR/ISR. You can check it by visiting your domain name.
Environment variables management
Laravel and Next.js have different ways of organizing environment variables and unfortunately Laravel Forge supports only Laravel’s way. It means you can’t edit your Next.js environment variables in the Laravel Forge interface. This is because Forge’s interface allows you to edit only the .env file, which in Next.js serves a different purpose - it’s under the version control and stores the default values only. In Next.js, all secrets and overrides should be stored in the .env.local file, which is not under version control. Therefore, the simplest way to edit this file is to SSH into your server and edit it manually. Something like:
ssh forge@{your-server-ip}

cd ./my-nextjs-site

nano .env.local
Luckily, you don’t need to change these values often. Don’t forget to rebuild and restart your application after changing the environment variables. Just click “Deploy Now” in Forge.