During my long relationship with PHP I’ve tried many ways of organizing my local development environment, from Denwer in 2004, WAMP/MAMP/LAMP, to Vagrant and Docker in 2010s. However, for the last few years, I have primarily used the excellent Laravel Valet. But I found that the official documentation omits some details that may be obstacles to newbies. That’s why I decided to document it from A to Z here, first of all for myself, and for everyone interested.
Table of contents
Open Table of contents
Why Laravel Valet
It seems Laravel Valet is in the shadow of giants like Laravel Sail and Laravel Herd today but it still has some unbeatable advantages.
Comparing to Laravel Homestead, which is based on Vagrant, it’s simply lighter and faster. Laravel Sail may also be an overkill because it needs time to start all your Docker containters. Getting multiple websites working on different local domains at the same time is also not very straightforward. The latest Laravel Herd looks very promissing but I faced some problems with the way how it manages PHP under the hood - my favorite Fork git client simply can’t read PATH and thus can’t reach Herd’s PHP in my pre-commit hooks. Other numerous features of Herd didn’t sound appealing enough to me so I still stick to Valet. It’s just how PHP is meant to be run on a hardware: no isolation, no tricks with PATH - pure power of nativeness. The best thing I love about Valet is zero configuration it requires to run a new project.
Install brew
First you need Homebrew a must-have package manager for macOS. Installation is as simple as running one command:
/bin/bash -c "$(curl -fsSL https://raw.githubusercontent.com/Homebrew/install/HEAD/install.sh)"Path
Now you should be able to run brew command from anywhere. But if you install a 3rd party package via brew install ... it won’t be available straight away. It’s because unlike Brew itself the 3rd party package is put into /opt/homebrew/bin folder which is not in your “base” path by default. So you need to tell macOS to take this new path to binary files into account by editing the PATH environment variable.
Add the following lines to the end of your ~/.zshrc or ~/.bash_profile files:
# Brew
export PATH="/opt/homebrew/bin":$PATH
Restart your console for these changes to take effect.
Install PHP
Using Brew we can install 3rd party packages. Let’s install PHP.
brew update
brew install php
Now you should be able to run PHP. E.g. try php --version to see the installed version.
Install Composer
Composer is another package and dependency manager like Brew but for PHP packages. Modern PHP development is unthinkable without it.
There are two ways of installing Composer in your system:
- Manually by downloading its binary from the official website
- Via Brew
Option 1 - Manually
Download Composer installer from https://getcomposer.org/installer, put it into your home directory, and run it using PHP:
php ~/installerIt will download the latest version of Composer - composer.phar binary file. Now you can remove the installer file.
Move composer.phar to a global path so the composer command is available from anywhere:
sudo mv composer.phar /usr/local/bin/composerTo check if Composer is available run composer --version.
Option 2 - via Brew
Since Composer is just another package it can be installed via Brew. Just run:
brew install composerThat’s it! Composer should be available globally now. You can check it by running composer --version.
Path
Since Composer and Brew are both package managers used to install other binaries, the directories where those binaries are located should be added to your global path, similar to what we’ve just done for the Brew’s bin directory.
Add the following lines to the end of your ~/.zshrc or ~/.bash_profile files:
# Composer
export PATH="$HOME/.composer/vendor/bin:$PATH"
This will make all binary packages installed by Composer globally (in the ~/.composer directory) available in the command line interface, so you don’t need to type the full path like ~/.composer/vendor/bin/valet. Instead, you can just type valet.
Restart your console for the updated PATH to take effect.
Install Valet
It’s time to install Valet. We will install it globally so that we can run the valet command from anywhere.
composer global require laravel/valetvalet installPark your sites directory with Valet
Let’s assume our coding projects are stored in the ~/Code directory. We want Valet to register local domains for every directory inside ~/Code. For example, ~/Code/blog directory will be available under http://blog.test domain. That’s the beauty of Valet - you just create a new project directory inside ~/Code and it gets available under the http://[project-directory-name].test right away! To make it work we need to park our projects directory.
cd ~/Code

valet park
Parking of the projects directory is not the only way to organize your work with Valet. You can also link individual directories and use different versions of PHP for different projects.
MySQL
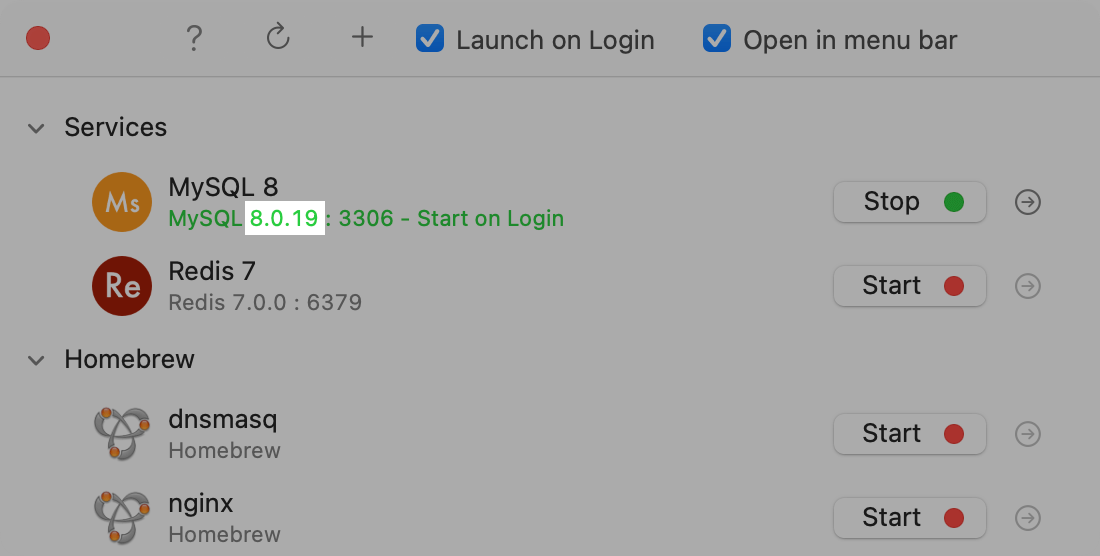
Valet provides us with a full Nginx web server and DNS support. PHP is available system-wide. The last piece almost any PHP application needs is a database. The simplest way to get it is DBngin. Download and install it from https://dbngin.com and create a MySQL server there. It will be available at 127.0.0.1 with the login root without the password.
It’s also useful to have mysql command available globally. You already know how to do it - by adding its binary file location to PATH. Edit your ~/.zshrc or ~/.bash_profile files again and add the path to your MySQL binary:
# DBngin
export PATH="/Users/Shared/DBngin/mysql/8.0.19/bin":$PATH
Your MySQL version may be different so you may need to change it in the path above. You can find your MySQL version right in the DBngin interface.

Sequel Ace
Another small tip is to use https://sequel-ace.com to manage your MySQL databases. It’s simple and free.
Conclusions
Now you are ready to go and create a new PHP/Laravel project inside ~/Code or clone a repo there.
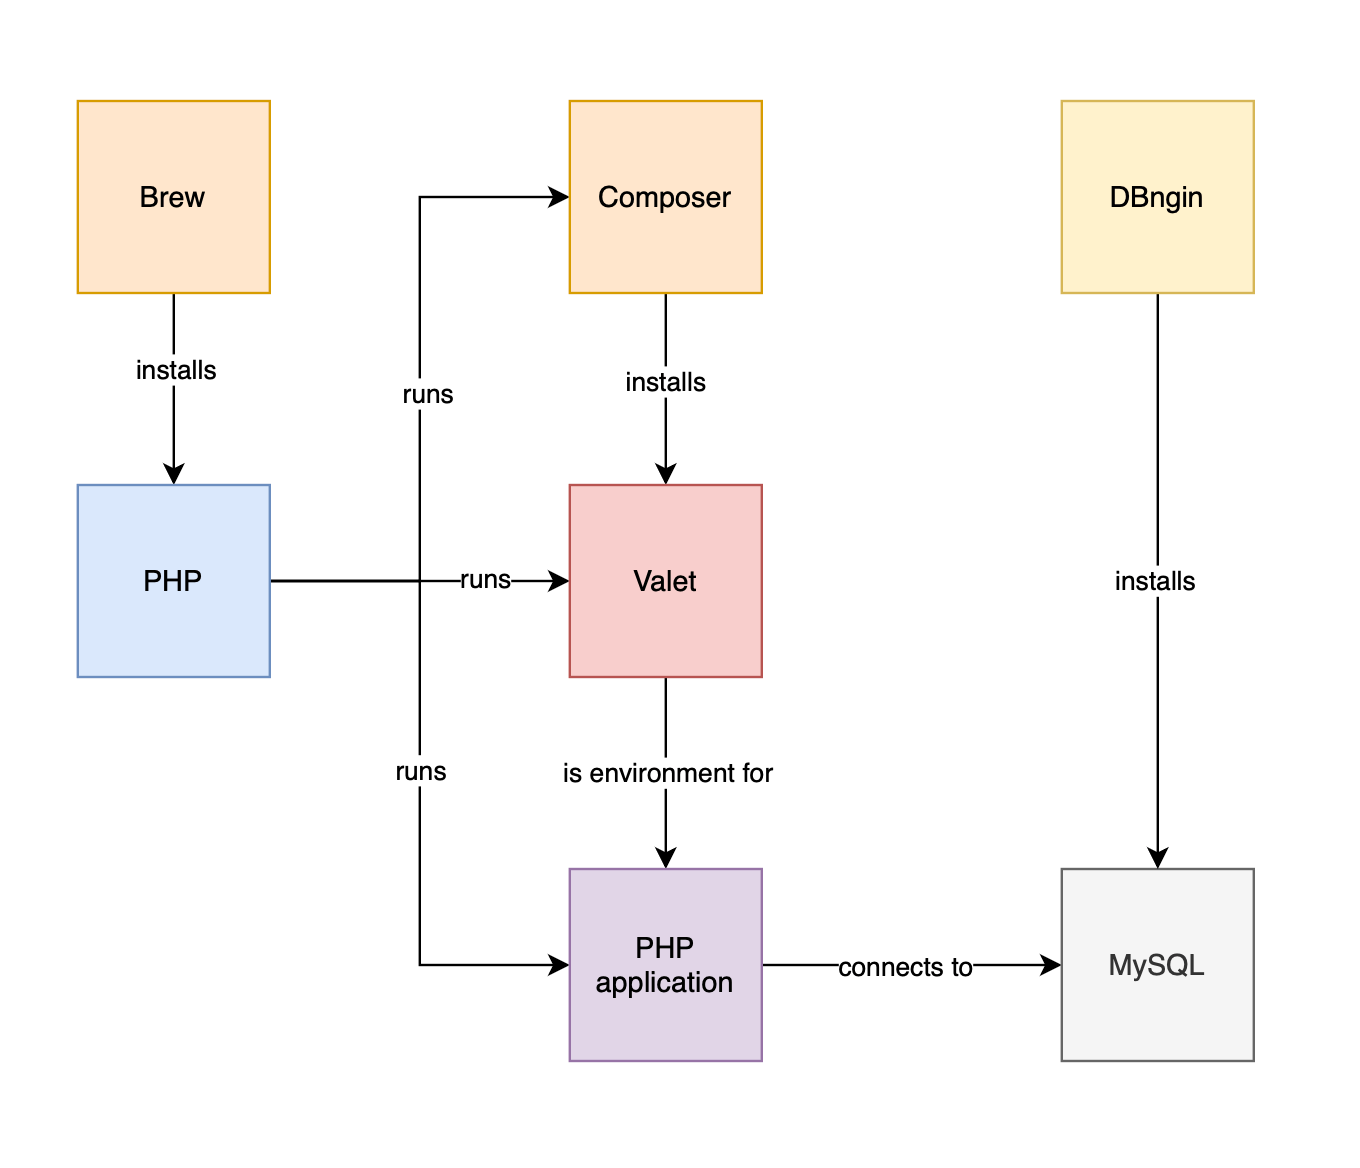
Here is a full picture of what we’ve done.
